Creating a flower bed border is a fantastic way to enhance the beauty of your garden. It not only defines the space but also adds a polished look, keeps your plants organized, and can even help with weed control. As someone who has spent years gardening, I’ve discovered some practical and creative ways to design and build flower bed borders. In this guide, I’ll share my personal experiences and tips to help you create a beautiful and functional border for your flower bed.

Understanding the Basics of Flower Bed Borders
Why Create a Flower Bed Border?
Flower bed borders serve several purposes:
1.Aesthetic Appeal: Borders give a neat, finished look to your garden.
2.Organization: They help in organizing different sections of your garden.
3.Protection: Borders protect your plants from being trampled on.
4.Weed Control: They can help in keeping weeds at bay.
Choosing the Right Material
The first step in creating a flower bed border is selecting the right material. Here are some options:
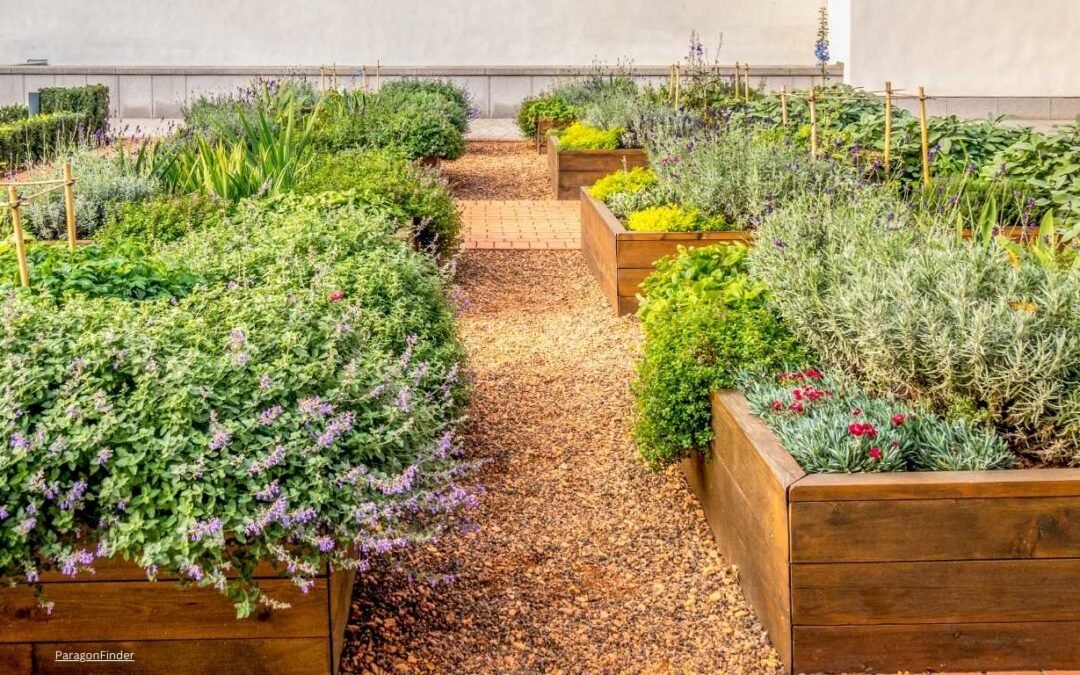
1.Wood: Natural and rustic, but requires maintenance.
2.Stone: Durable and attractive, though can be more expensive.
3.Brick: Classic look, easy to install, and long-lasting.
4.Metal: Modern and sleek, often used in contemporary garden designs.
5.Plastic: Affordable and easy to install, but may not be as durable.
From my experience, choosing the right material depends on your garden’s style, budget, and the time you’re willing to invest in maintenance.
Planning Your Flower Bed Border
Measuring and Marking
Begin by measuring the area where you want to install the border. Use a tape measure to determine the length and width of your flower bed. Mark the outline using a garden hose or string. This will give you a visual guide to follow when you start digging.
Gathering Tools and Materials
Here’s a list of tools and materials you might need:
- Shovel or spade
- Garden gloves
- Measuring tape
- Level
- Hammer or mallet (if using stakes or edging)
- Landscape fabric (for weed control)
- Border material (wood, stone, brick, etc.)
Creating the Flower Bed Border
Step 1: Preparing the Ground
- Clear the Area: Remove any grass, weeds, or debris from the marked area.
- Dig a Trench: Dig a trench around the perimeter of your flower bed. The depth and width will depend on the type of border material you’re using. For most materials, a trench about 6 inches deep and 4-6 inches wide should suffice.
Step 2: Laying the Foundation
- Level the Base: Use a level to ensure the bottom of the trench is even. This will help your border material sit flat and look neat.
- Add Landscape Fabric: If you’re concerned about weeds, lay landscape fabric at the bottom of the trench. This will help prevent weeds from growing through your border.
Step 3: Installing the Border
- Place the Material: Begin placing your chosen border material in the trench. For wood or stone, position each piece snugly against the next. For brick, lay them end-to-end, making sure they are level.
- Secure the Border: Depending on the material, you may need to secure it in place. For wood, stakes can be hammered into the ground on either side. For stone or brick, you can use soil or gravel to fill in gaps and provide stability.
Step 4: Finishing Touches
- Backfill the Trench: Once your border is in place and level, backfill the trench with soil. Press down firmly to secure the border.
- Tidy Up: Smooth out the soil around the border and water the area to help settle everything in place.
Creative Ideas for Flower Bed Borders
Using Recycled Materials
One of my favorite projects involved using old wine bottles as a border. I buried the bottles neck-down, creating a colorful and unique edge for my flower bed. Not only was this cost-effective, but it also added a personal touch to my garden.
Incorporating Plants
Another creative idea is to use low-growing plants as a border. Herbs like thyme or ground-cover plants like sedum can create a living border that adds texture and color to your garden. This approach combines functionality with beauty, making your garden even more inviting.
Mixing Materials
Don’t be afraid to mix different materials. For one of my flower beds, I combined brick and stone to create a visually interesting border. The contrast between the materials added depth and character to the garden.
Maintaining Your Flower Bed Border
Regular Inspection
Regularly inspect your flower bed border for any signs of wear or damage. Wooden borders may need to be treated or replaced over time, while stones or bricks might shift and require repositioning.
Cleaning and Upkeep
Keep your border clean by removing any debris or fallen leaves. This not only maintains the border’s appearance but also prevents pests and diseases from affecting your plants.
Weeding
Even with a border, weeds can sometimes creep in. Regular weeding will help keep your flower bed looking neat and tidy. Using a mulch or landscape fabric can also help reduce the number of weeds.
Personal Reflections on Flower Bed Borders
Creating flower bed borders has always been one of my favorite gardening tasks. There’s something incredibly satisfying about seeing a well-defined garden space. Over the years, I’ve experimented with various materials and designs, learning through trial and error what works best.
Lessons Learned
1.Start Small: If you’re new to creating borders, start with a small flower bed. This will help you get a feel for the process without being overwhelming.
2.Quality Materials Matter: Investing in good quality materials can save you time and effort in the long run. Cheap materials may need frequent replacement and maintenance.
3.Be Creative: Don’t be afraid to think outside the box. Some of my best borders have come from using unconventional materials and designs.
Favorite Projects
One of my favorite projects involved creating a border for a butterfly garden. I used colorful ceramic tiles to create a mosaic-like edge. The bright colors attracted butterflies, and the unique border became a conversation piece among visitors.
Another memorable project was a fairy garden I created for my grandchildren. I used small wooden logs to create a rustic border, adding tiny fairy houses and decorations. The children loved it, and it added a whimsical touch to the garden.
Conclusion
Creating a flower bed border is a rewarding project that can transform your garden. Whether you’re looking to add structure, protect your plants, or simply enhance the beauty of your outdoor space, a well-crafted border can make a significant difference. By choosing the right materials, planning carefully, and adding your personal touch, you can create a stunning flower bed border that you’ll enjoy for years to come.
Remember, gardening is as much about the journey as it is about the destination. Take your time, enjoy the process, and don’t be afraid to experiment. Happy gardening!