Roses have long been celebrated for their beauty, fragrance, and symbolic meanings. But did you know you can grow new rose plants from rose hips, the fruit of the rose plant? By mastering this simple and rewarding technique, you can enjoy an endless supply of roses in your garden. Here, I’ll share my personal experiences and step-by-step instructions on how to grow roses from rose hips.

Understanding Rose Hips
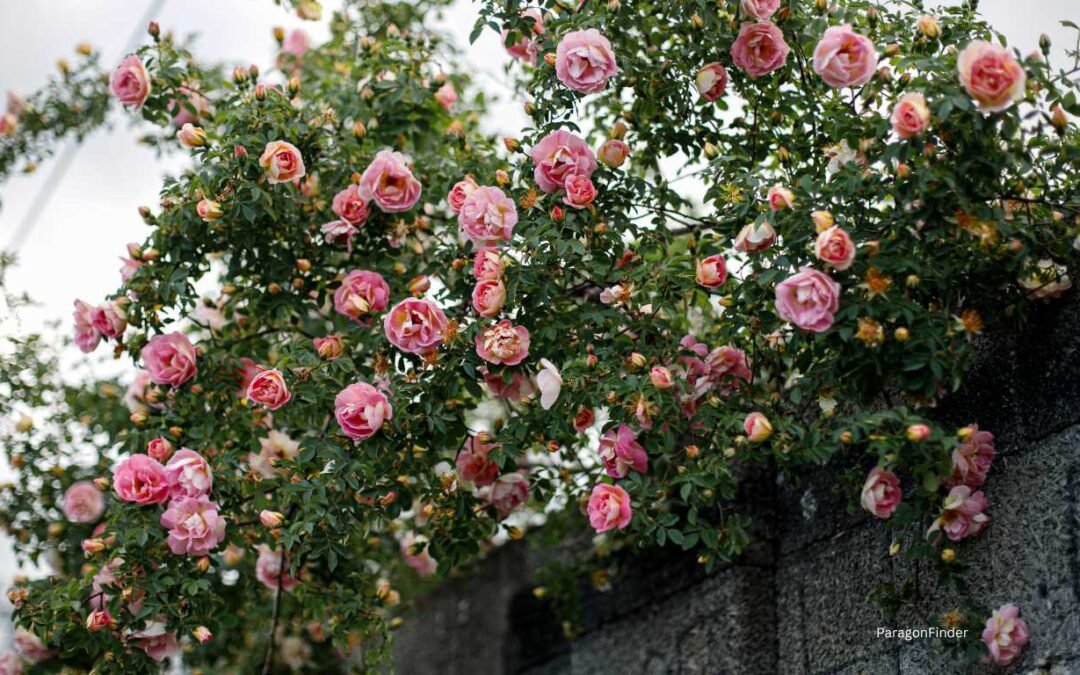
Rose hips are the round, seed-filled fruits that develop after a rose flower has bloomed and its petals have fallen. They are typically red or orange but can vary depending on the rose variety. Rose hips are not just for show; they are rich in vitamins, especially vitamin C, and have been used in various culinary and medicinal applications.
Benefits of Growing Roses from Rose Hips
Growing roses from rose hips offers numerous benefits:
1. Cost-Effective: It’s a budget-friendly way to expand your rose garden without buying new plants.
2. Genetic Diversity: Growing roses from seeds can lead to unique varieties that are different from the parent plant.
3. Sustainability: It’s an eco-friendly method of gardening, promoting plant biodiversity.
My Journey to Growing Roses from Rose Hips
My journey began a few years ago when I stumbled upon an article about propagating roses from seeds. Intrigued, I decided to give it a try. I had several rose bushes in my garden, and each fall, they produced an abundance of rose hips. Instead of letting them go to waste, I decided to collect and plant them.
Step-by-Step Guide to Growing Roses from Rose Hips
Step 1: Collecting Rose Hips
The best time to collect rose hips is in the fall after the first frost. Frost helps the seeds inside the hips mature. Here’s how to collect them:
1. Choose the Right Hips: Select rose hips that are fully ripe, typically red or orange, and slightly soft to the touch.
2. Use Clean Tools: Use clean, sharp pruners to cut the hips from the rose bush.
Step 2: Preparing the Seeds
Once you have collected the rose hips, it’s time to extract the seeds:
1. Cut Open the Hips: Using a sharp knife, carefully cut open the rose hips and scoop out the seeds. Be cautious, as the seeds are small and can easily be lost.
2. Clean the Seeds: Rinse the seeds thoroughly to remove any pulp or residue. Some gardeners recommend soaking the seeds in a mild bleach solution (one part bleach to nine parts water) for about 10 minutes to prevent mold growth.
Step 3: Stratification
Stratification is a process that mimics winter conditions, helping to break the seed’s dormancy. Here’s how to do it:
1. Moist Paper Towel Method: Place the cleaned seeds on a damp paper towel. Fold the towel over the seeds and place it in a plastic bag.
2. Refrigerate: Store the bag in the refrigerator for about 10 to 12 weeks. Check periodically to ensure the paper towel remains moist.
Step 4: Planting the Seeds
After stratification, the seeds are ready to be planted:
1. Choose a Container: Use small pots or seed trays filled with a well-draining potting mix.
2. Plant the Seeds: Sow the seeds about ¼ inch deep in the soil. Water lightly and cover the pots with plastic wrap to create a humid environment.
3. Provide Light and Warmth: Place the pots in a sunny location or under grow lights. The ideal temperature for germination is around 70°F (21°C).
Step 5: Caring for Seedlings
Once the seeds germinate, which can take several weeks to a few months, it’s crucial to care for the young seedlings:
1. Watering: Keep the soil moist but not waterlogged. Overwatering can lead to root rot.
2. Thinning: If multiple seeds germinate in one pot, thin out the weaker seedlings to give the stronger ones more space to grow.
3. Transplanting: When the seedlings have several sets of true leaves and are large enough to handle, transplant them into larger pots or directly into the garden.
Tips for Success
- Patience is Key: Growing roses from rose hips is a slow process that requires patience. Germination can be unpredictable, and it may take a few seasons to see your first blooms.
- Label Your Plants: Keep track of which seeds came from which rose hips. This will help you identify any particularly successful or unique varieties.
- Protect from Pests: Young rose plants can be susceptible to pests and diseases. Regularly inspect your plants and take action at the first sign of trouble.
My Personal Experience and Tips
In my own garden, the process of growing roses from rose hips has been a rewarding adventure. Each spring, seeing the first tiny seedlings emerge fills me with a sense of accomplishment. One tip I’ve found particularly helpful is to start with a variety of rose hips from different bushes. This increases the chances of successful germination and can lead to a delightful mix of rose varieties.
I also recommend experimenting with different stratification times. In my experience, some seeds benefited from a longer stratification period, while others did well with the standard 10 to 12 weeks. It’s all about finding what works best for your specific conditions and rose types.
Common Challenges and How to Overcome Them
1. Poor Germination Rates: Not all rose seeds will germinate. To improve your chances, plant a large number of seeds and ensure they are properly stratified.
2. Damping Off: This fungal disease can kill young seedlings. Prevent it by providing good air circulation, avoiding overwatering, and using sterile soil.
3. Pest Infestations: Aphids and other pests can damage young plants. Regularly check your seedlings and use appropriate treatments if needed.
Conclusion
Growing roses from rose hips is a wonderful way to propagate new rose plants and expand your garden. While the process requires patience and care, the rewards are well worth the effort. Each new plant grown from a rose hip is a testament to your gardening skills and offers the potential for unique and beautiful blooms. So why not give it a try? Embrace the challenge and enjoy the journey of growing endless rose plants from rose hips.
By following these steps and incorporating your own experiences, you’ll find that growing roses from rose hips is not only possible but incredibly fulfilling. Happy gardening!